04
Pngify — Convert WEBP Images to PNG Instantly
Convert WEBP images to PNG instantly with Pngify. Preserve quality and transparency for logos, UI, and screenshots—fast, simple, and reliable.
Pngify gives you a quick, dependable way to turn WEBP files into PNGs without fuss. Drop in an image, click convert, and download a clean PNG that looks right and behaves predictably across sites, design tools, and documents. If you work with logos, icons, UI elements, or screenshots, Pngify helps you keep clarity and transparency while staying compatible with everything your team uses.
What Pngify Does in Plain Language
Pngify takes a modern WEBP file and produces a PNG version that keeps visual quality and preserves transparent backgrounds when they exist. It’s designed for people who want a straightforward path from “I have this file” to “I can use it everywhere,” without juggling settings or learning new software. If you can upload a picture, you can use Pngify.
Why Convert WEBP to PNG
PNG is a trusted, widely compatible format that shines when images need crisp edges and transparency. Many workflows still expect PNGs for brand assets, UI components, charts, and screenshots. When a tool, CMS, or print workflow refuses WEBP—or when you need perfect transparency—converting to PNG is the simple fix that just works.
Who Benefits Most From Pngify
Designers and frontend teams who need pixel-perfect assets with transparent backgrounds
Marketers and content creators who prepare graphics for decks, landing pages, and social visuals
Developers and product teams who hand off icons and UI elements across tools
Educators and course builders who embed screenshots in slides and PDFs
Shop owners who standardize product labels, badges, and overlays for consistent presentation
What Makes Pngify Easy to Use
Focused, minimal interface that gets you from upload to download in seconds
Reliable transparency handling for logos, stickers, and overlay graphics
Clean filenames that slot neatly into media libraries and handoffs
Fast, predictable results with no complicated settings to learn
When PNG Is the Right Choice—and When It Isn’t
Choose PNG when you care about sharp edges, flat colors, text overlays, and transparent backgrounds. It’s ideal for logos, badges, icons, UI controls, charts, and crisp screenshots. If you’re optimizing large photographs for the open web, formats like WEBP or JPG may keep pages lighter. Many teams keep both: PNG for brand and UI, WEBP or JPG for large visuals.
How to Use Pngify in Under a Minute
Upload or paste your WEBP file
Click Convert to generate the PNG
Preview the image to make sure edges and transparency look right
Download and place the PNG into your site, deck, editor, or design tool
Everyday Ways Pngify Speeds Up Work
Replace WEBP icons with PNGs so presentation software displays them perfectly
Convert UI elements to PNG for design tools that handle transparency best with PNG
Standardize brand packs: keep a PNG version of each logo lockup for universal use
Create documentation with crisp, legible screenshots that export cleanly to PDF
Prepare overlays and stickers with transparent backgrounds for product photos and reels
Tips for Clean, Professional PNGs
Use the exact dimensions you need for your layout to avoid unnecessary file weight
Avoid upscaling; shrinking is fine, enlarging can soften edges and text
Name files clearly—include brand or component names so teams find assets quickly
Keep a tidy folder structure by project, campaign, or platform
Add alt text that describes the image’s purpose, not just its filename
Image SEO and Accessibility Basics
Write meaningful alt text that says what’s in the image or why it’s there
Place images near related copy so context is obvious to readers and search engines
Set width and height (or use responsive containers) to avoid layout shifts
Use descriptive filenames (e.g., product-badge-free-shipping.png) for better search and handoff
Ensure decorative images don’t distract from calls to action or core content
Quality Notes for Logos, Icons, and UI
PNG keeps edges sharp and text crisp, which is why it’s popular for interface elements and brand marks. If you notice color banding in gradients, consider simplifying the gradient or using a slightly larger size. For photographs, a PNG may become heavy; keep a WEBP or JPG copy for those use cases.
Simple Workflow Ideas That Save Time
Convert a small set of core brand assets to PNG and store them in a shared folder
Keep a “UI elements” collection with common buttons, badges, and icons as PNG
Add a naming pattern like brand-element-size-color.png for consistent handoffs
Before uploading to your CMS, convert all overlay graphics to PNG so transparency works everywhere
During campaign prep, convert any WEBP badges to PNG for decks and email templates
Responsible Use and Good Housekeeping
Keep original files archived so you can revisit or tweak later
Only store the converted assets you actually use to avoid clutter
Document when to use PNG versus other formats so new teammates follow the same rules
Review your media library periodically and remove duplicates or outdated versions
Troubleshooting Common Situations
The PNG feels large after conversion
Check the pixel dimensions. If the image is far larger than its display size, right-size it before publishing.
My logo edges look slightly soft
Confirm you aren’t enlarging the image beyond its original dimensions. Use the source size or export at the needed resolution.
Transparency isn’t visible in my editor
Some tools preview on a white background. Place the image over a colored or patterned layer to confirm the transparent areas.
The page still loads slowly
Images are only part of performance. Review scripts, fonts, third-party widgets, and video embeds as well.
The colors look different on another device
Small shifts are normal across screens. Test on light and dark backgrounds and keep a reference version for comparison.
FAQs
Is PNG the best choice for logos
Yes, especially when you need transparent backgrounds and sharp edges.
Will converting from WEBP reduce quality
Pngify focuses on preserving clarity.
Can I use PNG everywhere
PNG is widely supported across websites, apps, documents, and slides. It’s the safest choice for transparent assets.
Should I keep the WEBP too
Often yes. Keep WEBP for web performance, and PNG for compatibility and transparency.
Why is my PNG still heavy
Pixel dimensions drive file size. Match the image size to its display size, then convert.
Best Practices for Organized Teams
Adopt a shared naming convention that includes brand, element, and size
Store master assets, formats, and guidelines in a single, easy-to-find place
Document which formats to use for web, print, slides, and email
Create a short checklist for publishing: right-size, convert if needed, add alt text, test on mobile
Pair Pngify With Complementary Tools
Webpify for converting PNG to WEBP when you need lighter files for the web
Compressly for gently reducing file size when performance targets are tight
PixScale for resizing images to match each placement
Jpegify for creating JPG versions when a platform requires JPEG
Hero Image Description (Alt-Text Idea)
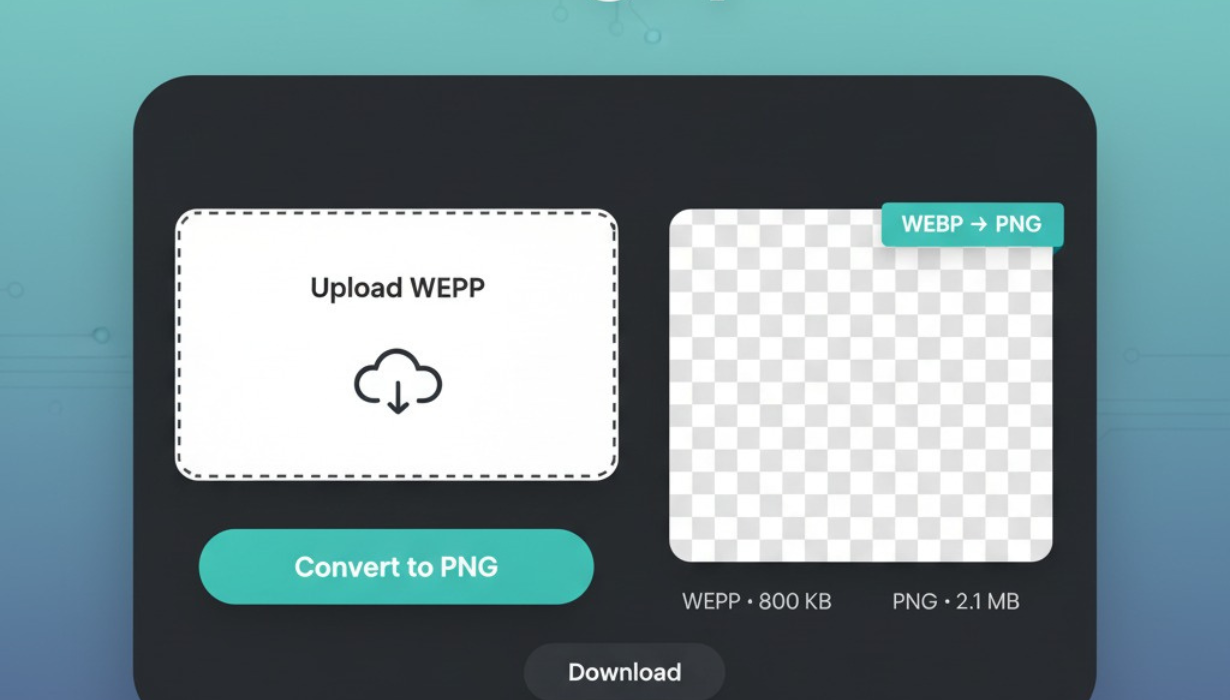
A minimal Pngify interface shows a drop zone labeled “Upload WEBP,” a bold Convert to PNG button, and a preview card with a checkerboard background to signal transparency; a small tag reads “WEBP → PNG,” a file size indicator sits below, and a clean Download button completes a quick, trustworthy workflow.
Final Takeaway
Pngify removes friction from a common task: getting a reliable, transparent PNG you can use anywhere. It preserves the crisp look you expect, plays nicely with slides and design tools, and makes handoffs straightforward for teams. Convert your next WEBP with Pngify, and keep your visuals clear, consistent, and ready for whatever your project needs next.
Contact
Missing something?
Feel free to request missing tools or give some feedback using our contact form.
Contact Us